Showing posts with label Butterick 7598. Show all posts

Sunday, 9 November 2025

I made a thing (sort of)

Strictly speaking, I finished a part-done thing. And only a small thing at that. But I have so little time for sewing these days that I'm happy to take any successes where I find them.

Does this look familiar? No, me neither

I had completely forgotten that I had posted about this skirt before; last October to be exact. Then I only had the skirt and lining hems to do, and was expecting to post the finished item the next week. Somehow, this didn't happen. I got distracted by other projects - I know, I know, I'm as astonished as you are - and it completely fell off my radar. It resurfaced recently, and I decided to get it completed for a quick sewing win.

It's not a colour that I wear a lot, so I’m a bit short of tops to wear with it, but it does go well with my blue Wondrella cardigan.

It works well for a fifties look

It also gave me a chance to update the Stashometer.

Not much, but every little counts

On the subject of stalled projects, this week my socials kindly reminded me of a story I posted three years ago.

A memory from 2022

Shamefully the project in question, Butterick 7598, hasn't been touched since October 2023. But as I just haven't got the time or energy to start a brand new project, it seemed a good idea to revisit it. The straight lengths of sleeve trim have now been machined in place with two rows of stitching down the centre. It's been so long since I worked on this dress that I forgot that the edges then have to be invisibly sewn down by hand as well.

Apologies for the blurry photo

Current Elaine has had stern words with Past Elaine about why she ever thought that this was a good idea! The next job is the curved trim on the sleeve head. This is going to be a real challenge, and was probably the reason why I gave up two years ago! Here goes . . .

Sunday, 1 October 2023

Trim tribulations

As I hinted last week, I have decided to perk up my not-quite-right Riviera dress by adding a trim of ruched ribbon around the neckline. So I duly set off to my local fabric shop, leftover piece of dress fabric in hand, to look at the ribbons available. There were lots of them. I looked at blues, pinks, golds, and even white, but nothing was quite right. Then on a separate stand I spotted some double-faced satin ribbons, including one which was dark green on one side and pale green on the other. The darker shade was just right.

After some experimenting, I decided to position the trim ⅝" in from the neckline - which is the same measurement as the width of the ribbon. I ran a line of basting stitches round the neckline to mark the position.

Trim position marked with orange thread

Then I ran tiny gathering stitches along each edge of the ribbon, pulled them up, and started sewing the trim onto the dress by oversewing the edges in place. I had to keep alternating between the top and bottom edges.

Even this much took some time

It quickly became obvious that this is going to be a long job. It's very tricky to keep the gathers even on the straight section, and round the curves will be even harder. Right now, I don't want to devote a lot of time to something which I won't wear for months. So, the dress is now on a hanger in my workroom, to be picked up whenever I feel like tackling a bit more.

Then I went back to another part-done project which has also been on a hanger for ages, Butterick 7598. The next job on this was to work out where the two lower bands of sleeve trim should go. This involved pinning them in place with an educated guess, trying the dress on, marking with pins where changes were needed, re-pinning the trim, trying the dress on again, basting the trim down once I was happy, trying the dress on again, more marking pins, unpicking some of the basting, redoing it, trying the dress on yet again - and all the while forgetting to take any photos!

Sleeve trim basted on - finally

Once I was satisfied that the trim was in the right place, I could undo the basting that holds the dress together. It's interesting to see that what look like parallel trim bands when the dress is worn are actually far from parallel on the flat sleeve pieces. The next job is to tidy up the rather wonky basting, and then machine the trim in place.

The bands are further apart at the back

It’s just as well that I am fully committed to slow sewing!

Sunday, 6 November 2022

Invisible progress, and sleeve experiments

Even though I've had quite a lot of sewing time this week, anyone expecting photos showing a radically different dress is going to be very disappointed. Most of that time has been spent replacing tacked-on trim with properly sewn-on trim. It was only once I had completed the machine sewing that I remembered that the edges all had to be hand sewn down, as I did with the pockets. This was done from the wrong side, and took some time as I had to constantly check that the stitches weren't visible on the right side.

Once all the trim was on, I could finish sewing the back facing in place.

This just needs buttons and loops now

The next job was working out how to attach the 'trim' (actually 19mm / ¾" straight grain strips of the dress fabric, satin side out, with the raw edges pressed under) in a more-or-less horizontal manner round a darted sleeve head. I decided that the only way to do this would be to use a shaped piece instead.

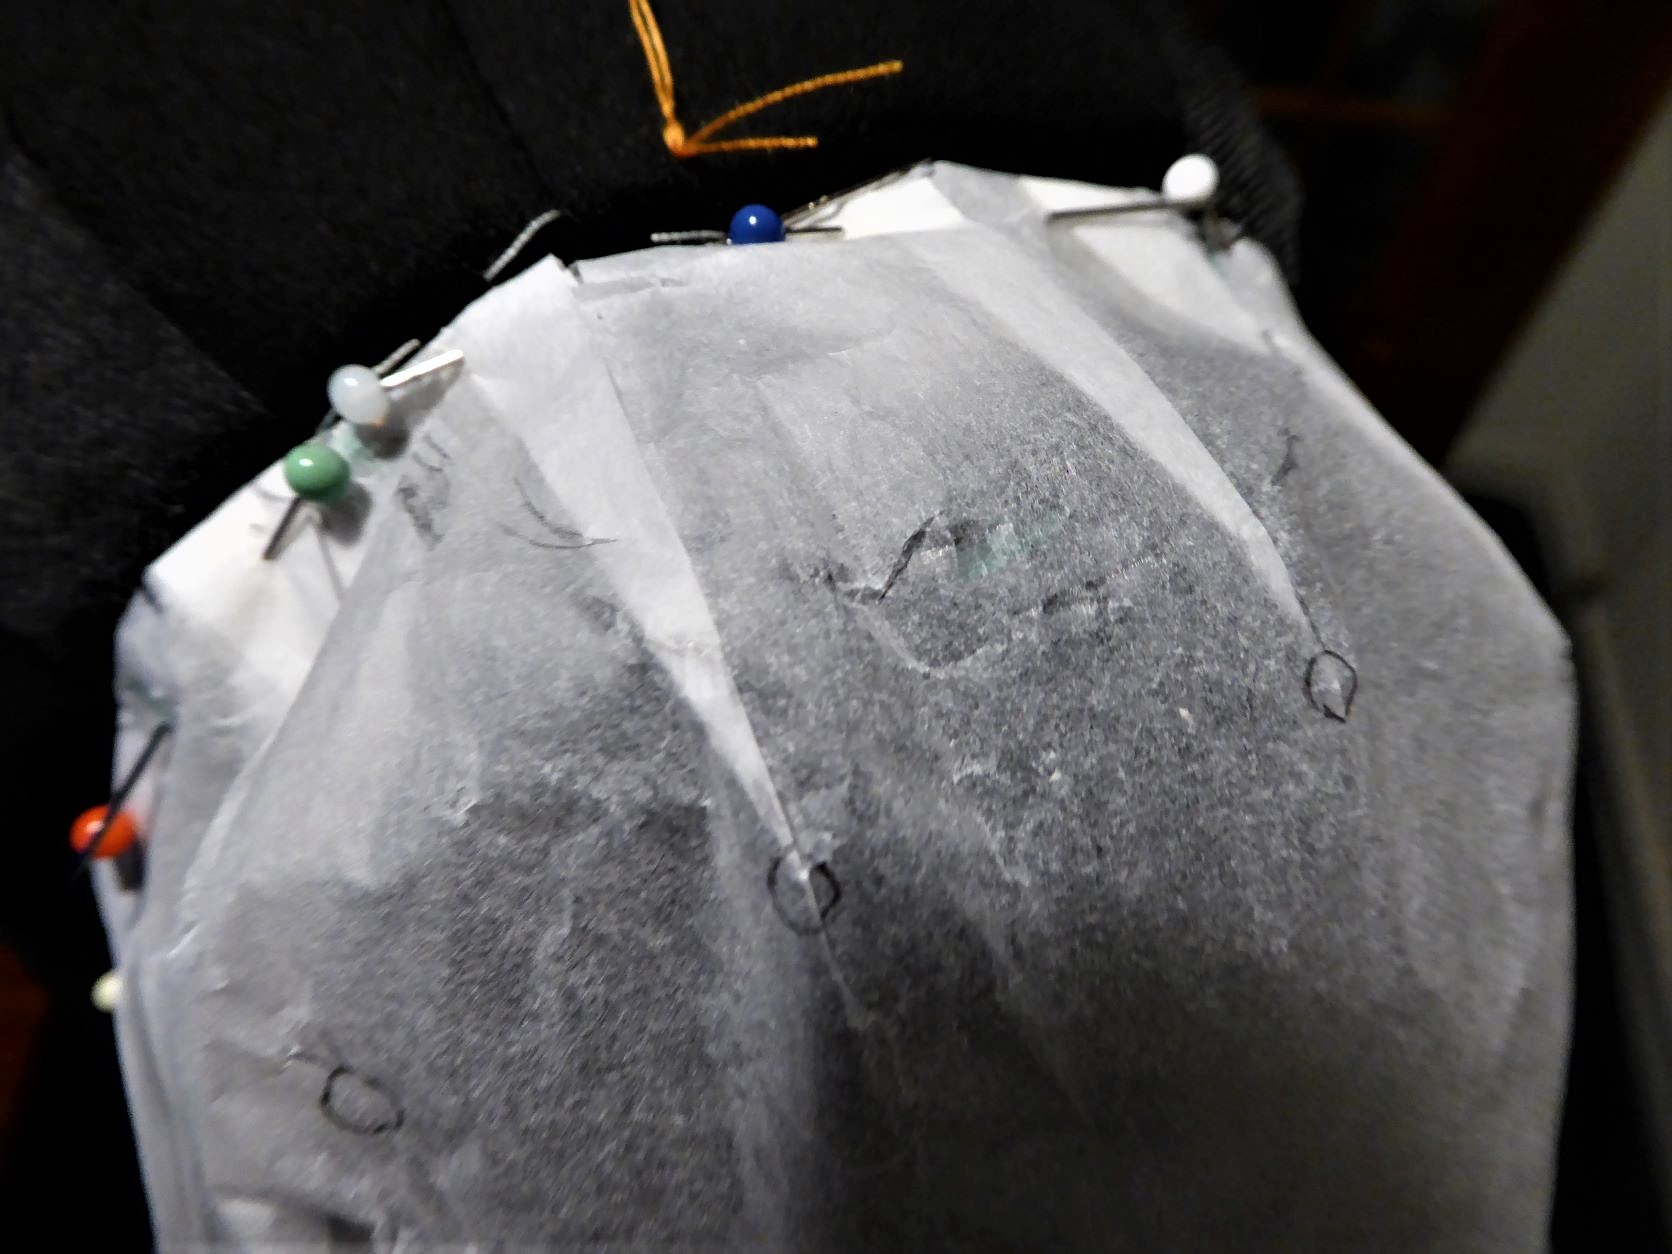
To work out the shape, I first cut a sleeve head out of tissue paper, taped the darts closed, and pinned it to the armscye.

Tissue sleeve in place

Then, I marked roughly where the top of the trim should be.

The marks are just visible

I removed my tissue sleeve, snipped open the darts, and laid it flat.

The darts created a slightly jagged line

I traced all this onto a second piece of tissue, so that I still had the original if I needed to make any changes. By this time the markings were getting quite busy, so I drew the darts in blue to identify them. I folded the darts on version two, smoothed out the upper curve, and added a second curve 19mm below.

It looks even more odd with both lines complete

Then I taped the darts closed, and cut along the curves.

I have a pattern!

I basted the sleeves back into the dress, and pinned the tissue pattern on. I think it works reasonably well. (Apologies for the very blurry image. I couldn't take a close-up in the mirror without blocking out the light, so I had to stand some distance away and enlarge the relevant part of the photo.)

Not bad

I had made some stiffeners to go inside the sleeve heads, just pointed ovals of silk organza folded in half and overlocked.

Sleeve stiffener

I’m not sure if I will actually need them, or if the applied 'trim' shape will fill out the sleeve enough on its own. Clearly more experimentation is needed. This is what slow sewing looks like!

Sunday, 30 October 2022

It’s been a while

I've picked up Butterick 7598 again, after a long break. Far longer than intended: I got stuck on the trim placement, then the height of (a very hot) summer didn't seem like the time to be working on a black dress, then the longer I left it the more daunting the trim issue became.

I finally decided that I needed to at least have a go, and guess what? Once I actually started, it didn't seem that bad after all! If anything, taking such an extensive break has helped - it allowed me to look at the project with fresh eyes.

This is the state in which the dress has been languishing on a hanger since July.

It had practically become part of the furniture

I tried it on, and discovered that the trim on the front only needed minor adjustments to make it look level. I also discovered that the shoulder seam is actually slightly back from the shoulder. This went a long way to explaining why positioning the front and back trims an equal distance from the shoulder seam had produced such a messy effect!

Once I had marked the true shoulder position and pinned the front trim in place properly, I was able to put the dress back on the dressform, and get to work on the back. I only pinned trim onto one side of the back, I can measure it to do the other side.

Back trim

I did, however, go to great lengths to make sure that the back and front trims were level. Years ago, I got a tiny spirit level keyring in a Christmas cracker, and put it in my workbox on the basis that it might come in handy sometime. And finally, it did!

Obsessive? Me?!

Next, I completed basting the front and back trim into place.

All tacked on

It was impossible to pin the trim onto the sleeves while they were part of the dress (and shaping the top row round the sleeve head is going to be very tricky indeed), so instead I just thread marked where it should be at the sleeve seam.

Orange threads mark where the trim should go

Once all this was done, I could unpick the basting which has held the dress together for over three months. I was very grateful that I'd thought to use different coloured threads for the seam allowance markings and the actual seams - it made unpicking much easier!

The next jobs are to make some more trim strips, and then to sew the trim to the bodice front and back. Hopefully without the project stalling again.

Sunday, 17 July 2022

Butterick 7598 - belt and pockets

Not a lot to report this week, as progress has been very slow.

The belt was made by my usual method of buckram wrapped in cotton and then covered with the dress fabric - in this case, satin side out. I added two rows of machine sewing for a decorative effect; both because it is a very 1930s detail, and also to mimic the stitching on the trim. As ever Tilda, my trusty treadle machine, purred though all the layers effortlessly. The buckle was bought at the Festival of Vintage, specifically for this dress.

Belt buckle and stitching detail

Because the belt was made with satin fabric cut lengthways, I cut the strips for the trim the same way. There was no need for bias cutting as all the decoration is in straight lines, and I wanted to be sure that all the satin parts would look the same in any light. (This is probably being overly fussy, but that's just me!)

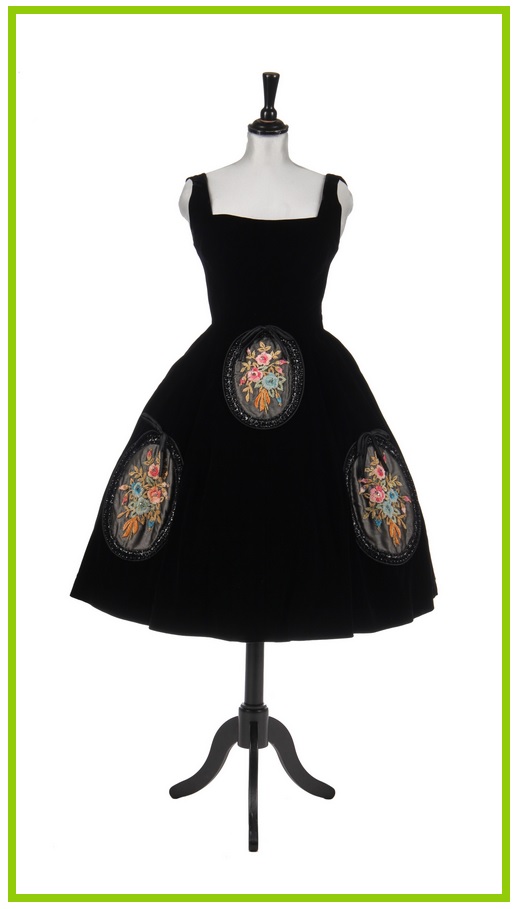
I decided to make the pockets first, as they involved handling shorter lengths of trim. The pockets on the inspiration dress are triangular, with none of the base fabric showing.

Inspiration dress from Carnivale Vintage

I experimented with paper cut-outs held against the skirt of the dress until I got a size and shape I was happy with, then thread-traced the pocket shapes onto a spare piece of fabric. I made both pockets simultaneously; partly because a larger piece of fabric was more stable to work on and partly so that they would look the same. I learned the hard way many years ago that if you are making two identical items one after the other using a new-to-you technique, the second one will look very noticeably better!

Partway through making

Once all the strips of trim had been sewn on, I checked if there had been any shrinkage, cut out the pocket shapes, then neatened the raw edges and turned them under. The pockets are now ready to be attached to the dress.

Pocketses!

Then it was on to the dress itself, and this is where things got tricky. I want three rows of trim across the front, sleeves and back, evenly spaced out and horizontal. But of course, the lengths of the dress bodice front and back are not the same; because the back goes straight down and the front, ahem, does not. Plus, what looks horizontal when the dress is laid flat will not necessarily look horizontal once the dress is worn. I tacked the whole dress together, and then considered how to tackle the trim.

A dress form helps, but only to a certain extent. Nancy, my main dress form, is an accurate representation of my shape, apart from around the neck. This dress is close-fitting at the neck, so it’s impossible to do it up at the back on Nancy.

Nancy - shoulders good, neck bad

My other dress form has a narrow neck, so the dress can be done up. However, the shoulders are a completely different shape from my narrow, sloping ones.

Norah - shoulders bad, neck good

Both of these issues mean that what looks right on a mannequin doesn't look right on me. I can do a certain amount of the trim positioning on myself, but not all. As ever, the solution is to take it to my Mum's for help and a second pair of hands. Unfortunately though, both our homes are in the 'red alert' area of the current heatwave, so driving between them will have to wait for a few days. Still, it's not as though I'm desperate to complete a black dress with three-quarter sleeves to wear in this weather!

Sunday, 26 June 2022

Butterick 7598-ish

I've reached the stage in this project where I'm no longer working from the pattern but making it up as I go along* and, as a consequence, progress has been slow.

After some thought, I decided to redraft the back with a centre back seam. The back could have had a slashed opening, like Simplicity 4463, but the trim treatment that I want to add to the dress would work better with a proper seam. Somehow, I forgot to take the back opening into account when I cut out the back facings and had to redo them, but at least I realised before I had sewn the facings together.

Duh! Original and correct facings

My plan for the trim is inspired by this dress from Carnivale Vintage in Edinburgh. It was posted on their Instagram account ages ago, and I loved it. Unfortunately, as well as the usual problem that ready-to-wear bodices are too long for me, there was also the minor issue that it was a size 8 and I, categorically, am not! As usual when I spot something I like, I had kept all the images in my (now rather full) inspiration/ideas folder for reference.

1930s dress, front and back, images from Carnivale Vintage

Because I wanted to recreate this trimming method, I chose a crepe-back satin for the dress. The dress itself is made crepe side out, the trim will be made satin side out. This saves the hassle of trying to find one matte and one shiny fabric in the same shade of black, which is harder than you might think.

I experimented with laying tape across the toile, and marked the rough centre positions with a Frixion pen. Unfortunately, it's not just a case of extending these marked points across the pattern pieces. I know from this dress that working out pleasing lines on a three-dimensional body can only be done when wearing the dress.

Rough positions marked on the toile

This gives me a chicken-and-egg problem. I can only position the trim, and match it across front, sleeves and back, when I have a complete dress. However, I can only sew the seams to complete the dress once the trim is in position! My plan is to sew the shoulder seams and partially attach the facing, then baste the other seams. By a combination of putting the dress on Nancy and wearing it myself, I can (hopefully) position and pin the trim.

This is going to involve lots of handling and taking on and off a dress made from a fabric which frays quite easily. I may even need to overlock all the raw edges it gets too bad. Therefore I decided to thread trace the seam allowances on the bodice and sleeve pieces before I start, so that I don't lose track of where the seams should be. I did this by marking the seam lines in chalk, and then going over them with tacking thread. I'll baste the dress together with a different colour of thread, so that I know what I'm unpicking if/when I need to do so.

Thread tracing on a sleeve

The trim on the Carnivale dress looks like some sort of braid, sewn on in rows of three.

Close up of the trim, image from Carnivale Vintage

For the sake of my sanity, I am planning to use a single wide strip of satin with the raw edges turned under, and machined twice to roughly replicate the three rows. I have made a sample piece from scraps, following the pocket treatment of multiple rows close together, and I'm happy with it.

Trim sample, I may need to sew down the edges

I will need to be very careful to keep the rows of stitching straight and evenly spaced - thank goodness for the speed contol of a non-electric machine. I'm planning to do the pockets and belt first, as they should be simpler, and then move onto the bodice. Partly to get some practice, and partly to put off the tricky bit!


* - As an aside, this dress was in the 'Passion for Fashion' auction held by Kerry Taylor Auctions this week. Although it has no label, it was thought to be by Pierre Balmain, circa 1955. There were lots of interior shots in the online catalogue, and I was delighted to discover that most of my guesswork on the construction of my Holly Dress had actually been correct. My current project is really making me wonder if I've bitten off more than I can chew, so this was a welcome confidence boost.

Image © Kerry Taylor Auctions

(And no, I'm not thinking about recreating this. Not even a tiny bit. OK, so I may have saved all the images and details but oh no, definitely not....)

Sunday, 19 June 2022

Butterick 7598 - if the sleeve fits . . .

The 8th Lady Berwick, who I posted about last week, was herself a skilled needlewoman. When she and her husband took over Attingham Hall it was in need of restoration, and while she did some of the work herself, she also wrote books and articles on aspects of needlework to help fund the rest. On the subject of dressmaking, she wrote that, "patience, courage and a sense of humour" were essential requirements.

Never were truer words spoken. About this project, at least.

Having decided what changes I needed to make to the dress bodice, I drafted wider and shorter bodice pieces, leaving the armscye and sleeve unchanged. I then cut out the toile, with both back and front pieces cut on the fold (sharper minds than mine will immediately see where this is going). I stay-stitched round the neckline, sewed the shoulder seams, trimmed the neckline curves, and replicated the effect of a facing by pressing back and sewing down the seam allowance. Finally, I pinned one side seam together, and tried it on Nancy.

Spot the problem

It looked reasonable, so I then attempted to try it on me. This was when it finally dawned on me that I have got a head and Nancy has not! What made it even worse was that I have got form with this.

When I actually read the instructions properly, I discovered that there should be a zip ("slide fastener") at the back. The pattern includes instructions for inserting one of these new-fangled things, but the method is very different from what I'm used to. The zip is set in with no attempt at concealment. Given that in 1937 it would have been plain metal, it would have looked very visible indeed.

The instructions, and my version

I'm not sure if in 1937 you wanted to show off your zip as a feature, or if the notion of hiding it in a seam just hadn't been developed by then. Certainly the pattern envelope suggests that zips were very new, so making it deliberately visible may have been A Thing.

Zip references on the pattern envelope

This raised the interesting question of just how historically accurate I want to be. Do I go for a visible zip (which will be black, and plastic), even though it will look very odd to modern eyes? Other options are adding a centre back seam, or doing away with the zip altogether and having a slit with a facing and buttons and loops instead - like Simplicity 4463 from five years later. I've put off making a decision for now.

In the meantime, I sewed a visible zip in to toile, and tried it on. I liked the collar, and the bodice fit seemed reasonable, but the armscye seemed very high and the shoulder very wide.

Fitting the bodice without sleeves (or attached skirt)

I then realised that none of the views in the pattern combined the gathered sleeve with the bodice I was using, but looking at the pattern pieces the armscyes seemed the same, so I carried on.

I'm making bodice A, B or F

And started off with sleeve D or E

The sleeve head had to be very tightly gathered, and end result was alarmingly full. The attached sleeve was also partway down my arm! Plus there was some pulling on the bodice, and the collar now seemed rather tight. On top of all this, the armscye still didn't feel right. At this point I assumed that I would need to make a second toile, as so many alterations would be needed to fix everything.

The arrow shows roughly where my shoulder is

The first thing I needed to do however was make a second sleeve, as trying to fix the narrow shoulder issue with only one sleeve was likely to skew the whole thing. I made up the other sleeve design, the one with the pleated head, and then let out the sleeve seams on both sleeves as they were slightly snug, even for the 1930s (when will I learn that I do need to regrade sleeves?!). This time I only sewed in the sleeves at the bottom of the armscye, and pinned them on at the correct point for my shoulders. I much preferred the smoother look of the pleated sleeve head and, as if by magic, all the fit issues had vanished! I was amazed that simply bringing the sleeves into the correct position could fix so many non-sleeve problems.

Much better

This meant that I didn't have to make second toile (yay!), just redraft the pattern pieces with the various tweaks I'd made. Fortunately I had kept notes of everything I did along the way - well over a year later, I'm still mildly stunned by just how useful a proper project notebook actually is!

Pattern redrafted, in theory I could now cut the bodice out and finally start sewing. However, there's an idea I want to try for the dress trim, and this really needs to be hammered out before I begin the construction. What was going to be a 'quick dress' (a phrase which I should ban from my vocabulary) to go with my new hat is turning into a very long project indeed.

Sunday, 5 June 2022

Butterick 7598 progress

After a long break, I'm finally back working on Butterick 7598. Yay!

Unfortunately, I've got rather less done over the weekend than I had hoped. My laptop decided to die yesterday, and it took me the entire afternoon to coax it back to life. Things weren't helped by going on to the manufacturer's website and basically being told that it was my own fault for persisting in using it for so long instead of replacing it - grrr! After all this, it was a great relief to go back to working with a 90-year-old lump of cast iron which is still going strong.
Back in my happy place!

When I last posted about this project, I had given up trying to redraft the pattern with four different adjustments simultaneously, and had just redrawn the bodice pieces without the variable seam allowances.

The seam-free versions laid over the originals

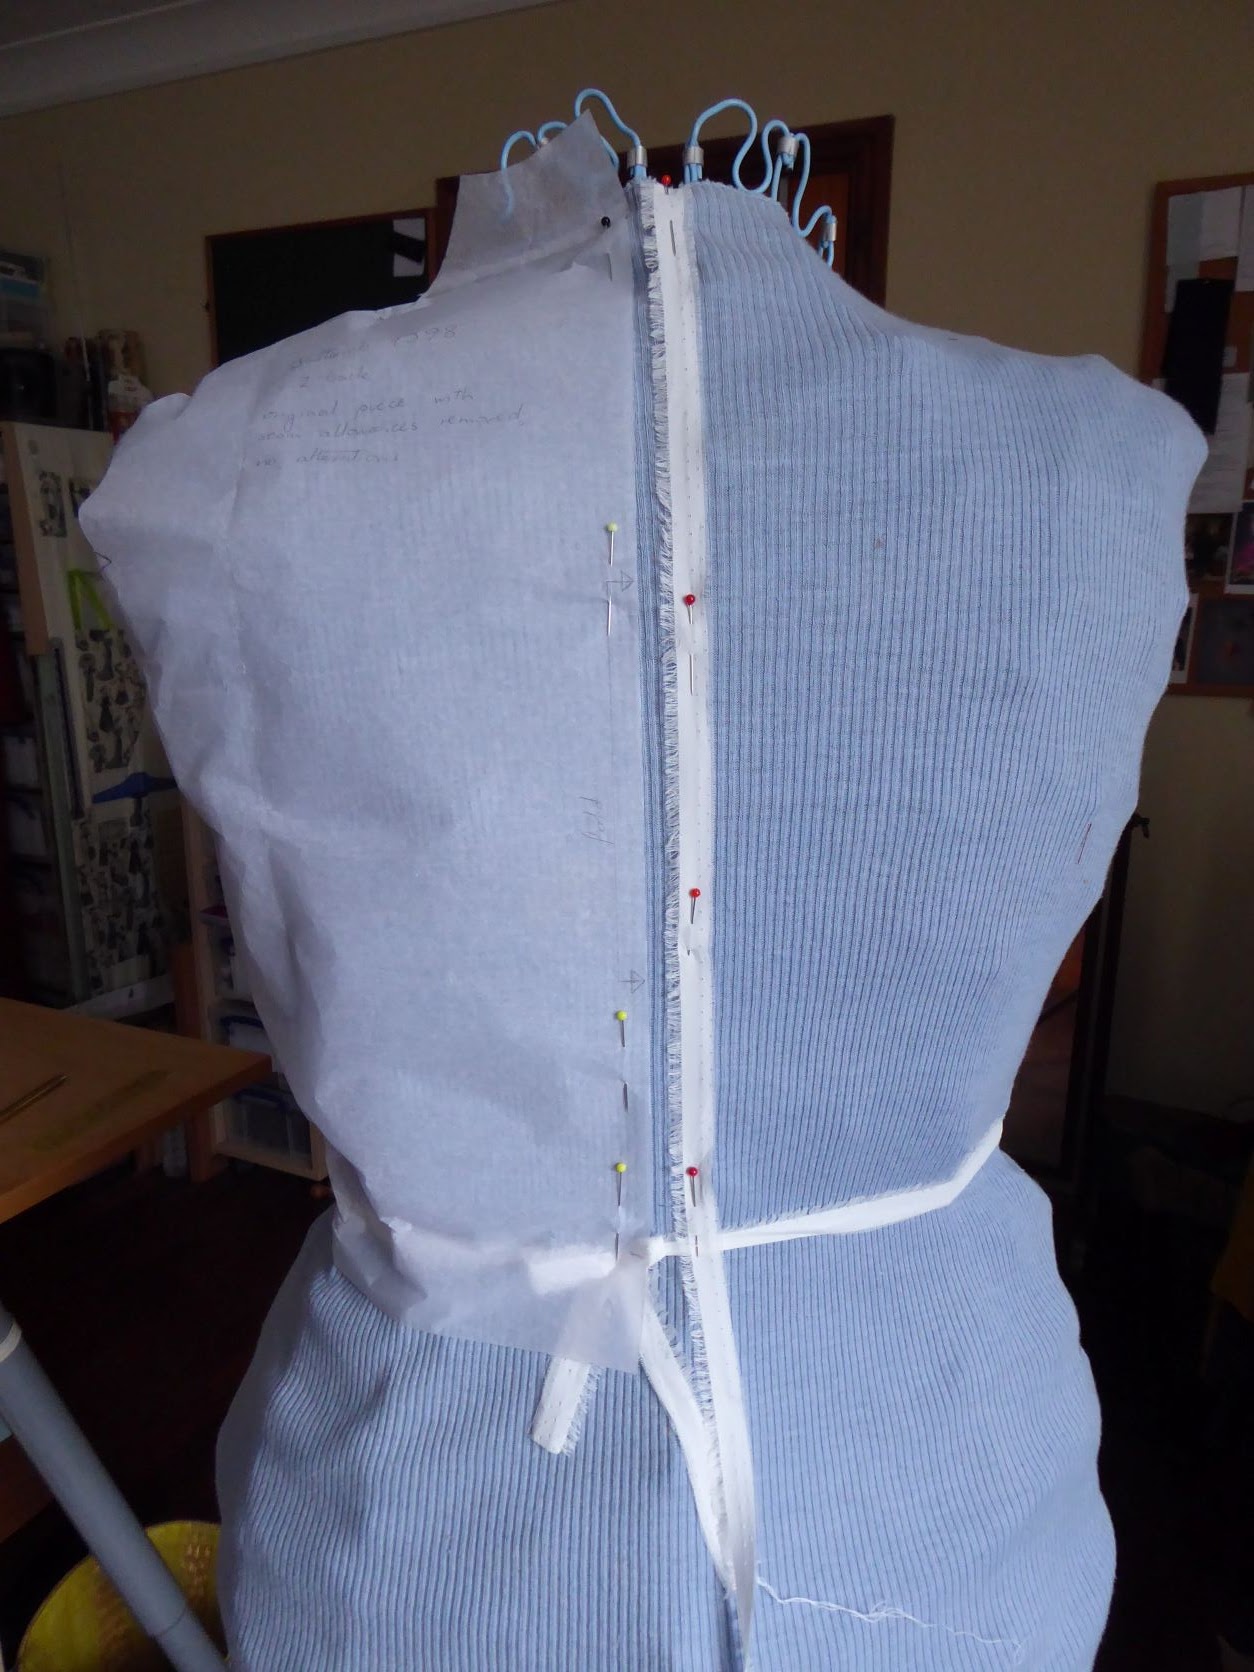
I could then pin the pieces onto Nancy, to see where alterations are needed. Because I knew that I needed to grade up a size, I pinned the pieces ½" out from the centre line.

The back . . .

. . . and the front

The result was 1½" too long at the back, and 2½" too long at the front, so I am going to assume that I've positioned the shoulder seam wrongly, and just take 2" out all round for the first toile.

When I make mock-ups, I usually only do the bodice, as that is where the fitting issues occur. However, I've come unstuck with this approach a few times recently. What appears to fit when it's just a bodice can behave very differently once there is a skirt attached to it. So this time, I'm trying something a bit different. I've made the skirt part of the dress already, and will pin it to the mocked up bodice once it is done.

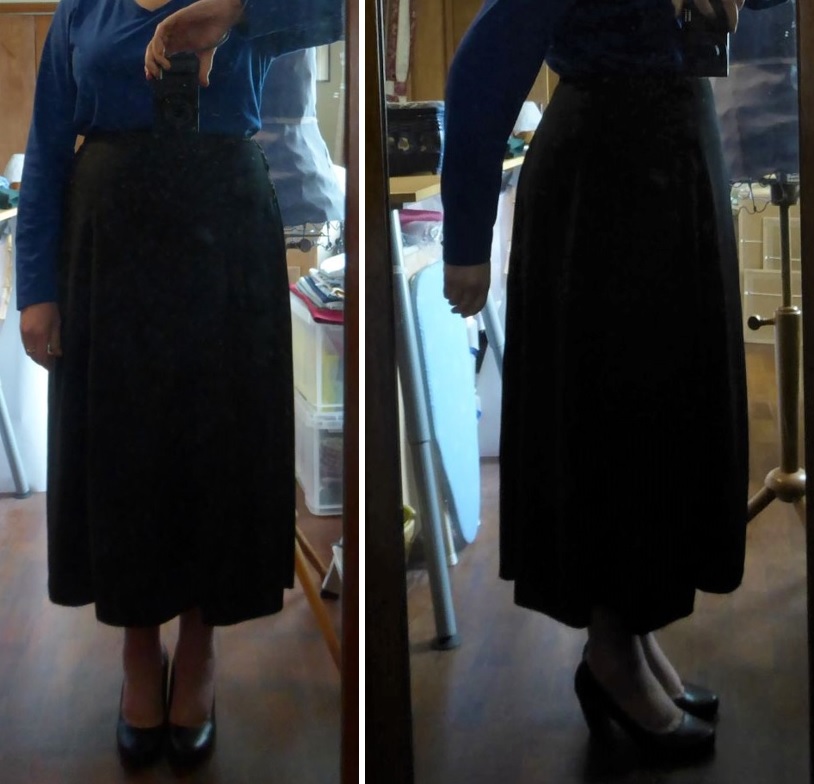
I felt that the skirt of 7598 was a bit too slim to work on me, so I used the skirt of Butterick 6866 instead, as both are six-panel skirts with a side fastening. The result is more mid-1930s than late-1930s in length, and rather full for 1937, but both of these can be adjusted if necessary. Please excuse the terrible pictures, the lighting in this part of my workroom is not ideal for photography.

The skirt

The next step is to draft new bodice pieces and make the first toile.

Sunday, 24 April 2022

A hat and a hack

Yes. Again.

Guess who has been distracted from her MakeNine2022 goals?

This all started a couple of weeks ago, when I went to an event at Maggie Mae's Vintage in Shrewsbury. (An actual event!! With people! Woot!) It was the first time I'd been there, but it won't be the last - the shop has a wonderful selection of true vintage and reproduction pieces, and stocks lots of vintage-style brands such as House of Foxy, Fatale Cosmetics and What Katie Did.

I had a great day and met some lovely people, and bought a hat! (Being short-waisted means that most RTW clothing doesn't fit me, but hats of course are an entirely different matter.) It's a fabulous black felt number trimmed with a veil, and black felt decorations on scarlet barbs which I think are meant to be wheat stalks.

Hat goodness

Of course, such a hat needs a suitable dress to go with it. It looks very late 1930s/early 1940s, so I wanted something from that era and fairly plain - mainly so as not to distract from the hat, but also because frills are on the list of Things I Do Not Wear. View A of this pattern fits the bill nicely.

Butterick 7598, 1937

The pattern has variable seam allowances - ¾" for seams which might need letting out, and ⅜" everywhere else. As usual, I traced off a copy to work with, and decided to simplify things with ⅝" allowances all round. Trying to simultaneously do this, shorten the bodice, increase the whole thing by one size and add a full bust adjustment, it's not surprising that it took me a while to notice that the neckline looked nothing like the one on the pattern envelope.

Spot the difference(s)

Clearly at some point the previous owner decided to alter the pattern to have a neckline more like the one on my Autumn Roses dress but without a front opening.

Detail from Advance 2229, 1939

Fortunately, the pattern still has its front and back facings, unaltered. By laying these over the main pieces, it was possible to see what the pattern pieces should look like.

What the bodice front originally looked like

The back neckline was cut down to match

After all this, I decided that the easiest approach was to work step-by-step rather than try to do everything at once. So, I have drawn up the correct bodice front and back pieces without any seam allowances or alterations. The next job is to attach them to Nancy to see where changes need to be made.