
 |
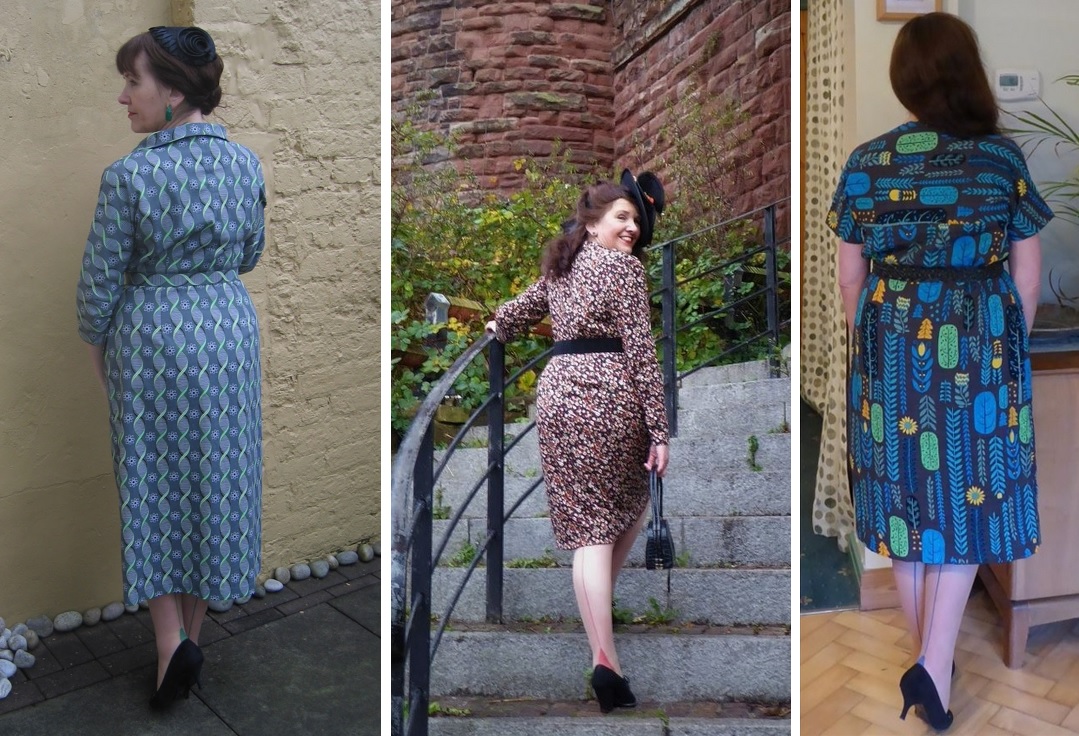
| Stockings co-ordinated to outfits |
Naturally, when I was thinking about outfits for the Festival of Vintage, co-ordinated stockings were a must. I get mine from What Katie Did (this isn't an affiliated post, just my own observations), and usually keep them in their original packaging to avoid damage. But the prospect of actually 'going away' for the first time in over two years prompted me to finally get round to making a stocking case for travelling. Ultimately, I want to make a much larger case for storing all my pairs at home, so this was also a useful trial run.
Stocking cases or pouches, lined in silk or satin to avoid snagging the contents, used to be common items. Usually they consisted of just one or two compartments. But because I am storing stockings with different coloured seams, I decided that I wanted each pair to have a separate pocket, sufficiently see-through for me to identify the colour (WKD stockings have coloured welts as well as seams, so there's quite a lot of colour to see.)
I started by making a test pocket, based on the dimensions of a folded pair of stockings. It was made from organza, pleated at the corners to add depth to the pocket, and sewn onto a cotton base. The hem at the top is folded to the outside, to leave the inside of the pocket smooth.
 |
| Pocket mock-up, with stockings inside |
Once I was happy with the dimensions, I drew the basic design of two-by-two pockets with a centre gap for the fold onto a piece of cotton with a Frixion pen.
 |
| The basic layout |
I basted on the satin backing for the top two pockets, and redrew on the seam lines onto the satin. Then I pinned on the pockets along the bottom seam, with the pleats in place, and stitched along the drawn line.
 |
| Bottom seam ready to sew |
Then I pinned the side seams and pleats, and sewed each one in turn. What Katie Did lingerie comes beautifully packaged in parcels tied with WKD ribbon, so I recycled the ribbon I've collected over the years to enclose the raw edge at the top of the pockets.
 |
| Side seams pinned |
The process was repeated with the lower pockets, then the side satin panels were attached, and finally the centre panel.
 |
| Attaching the side panels |
I wanted to use an open-ended zip so that the completed case would lie flat when opened, but this limited my choice of zips in terms of length and bulkiness - it's definitely something which needs more thought. The zip was attached round the edges, and the excess cotton fabric cut away. The backing fabric was attached, right sides together and with enough excess in the backing so that it would cover the seam allowance when turned right side out. Once the case was bagged out and the opening sewn up, I top-stitched all round the base of the zip.
 |
| Close-up of the zip and edging |
All of this was sewn on Tilda, as the treadle gave me more control over speed and stopping than I felt I would get from my electric machine, while leaving me with both hands free.
And here is the end result. There are things I will definitely change next time, but for a first attempt I'm pretty pleased with it. It does the job, the zip is well away from all that delicate 15 dernier, and it's easy to tell which colour stockings are in each pocket. And apart from the zip, it was an entirely stash make as well - result!
 |
| Outside - open |
 |
| Outside - closed |
 |
| Inside - containing neutral, claret and green stockings |
Clever! Well done, you. I think it would be a great way to use some bit of "precious" fabric for the outer bit too.
ReplyDeleteThank you Juliana, and you're spot on about the outer fabric. I'd bought this fat quarter a while ago because I loved the print, but then couldn't find a use for it. It was very satisfying to finally use it.
Delete