Showing posts with label Simplicity 3662. Show all posts

Sunday, 24 September 2023

Riviera dress progress

I start my course next week, so have been busy preparing for that. I have found time to inch a little further forward on my Riviera dress, though, adding the zip and neck facing. I did the zip first because the neckline felt a tiny bit baggy at the back (a common problem for me), so I took the back seam in slightly at the top. Once I was happy with the fit, I attached the facing and trimmed off the excess.

The dress on Nancy

In theory, that should be the dress almost finished, with only the hem and understitching the facing left to do. But when I tried it on, I wasn't convinced.

Please excuse the atrocious mirror shot

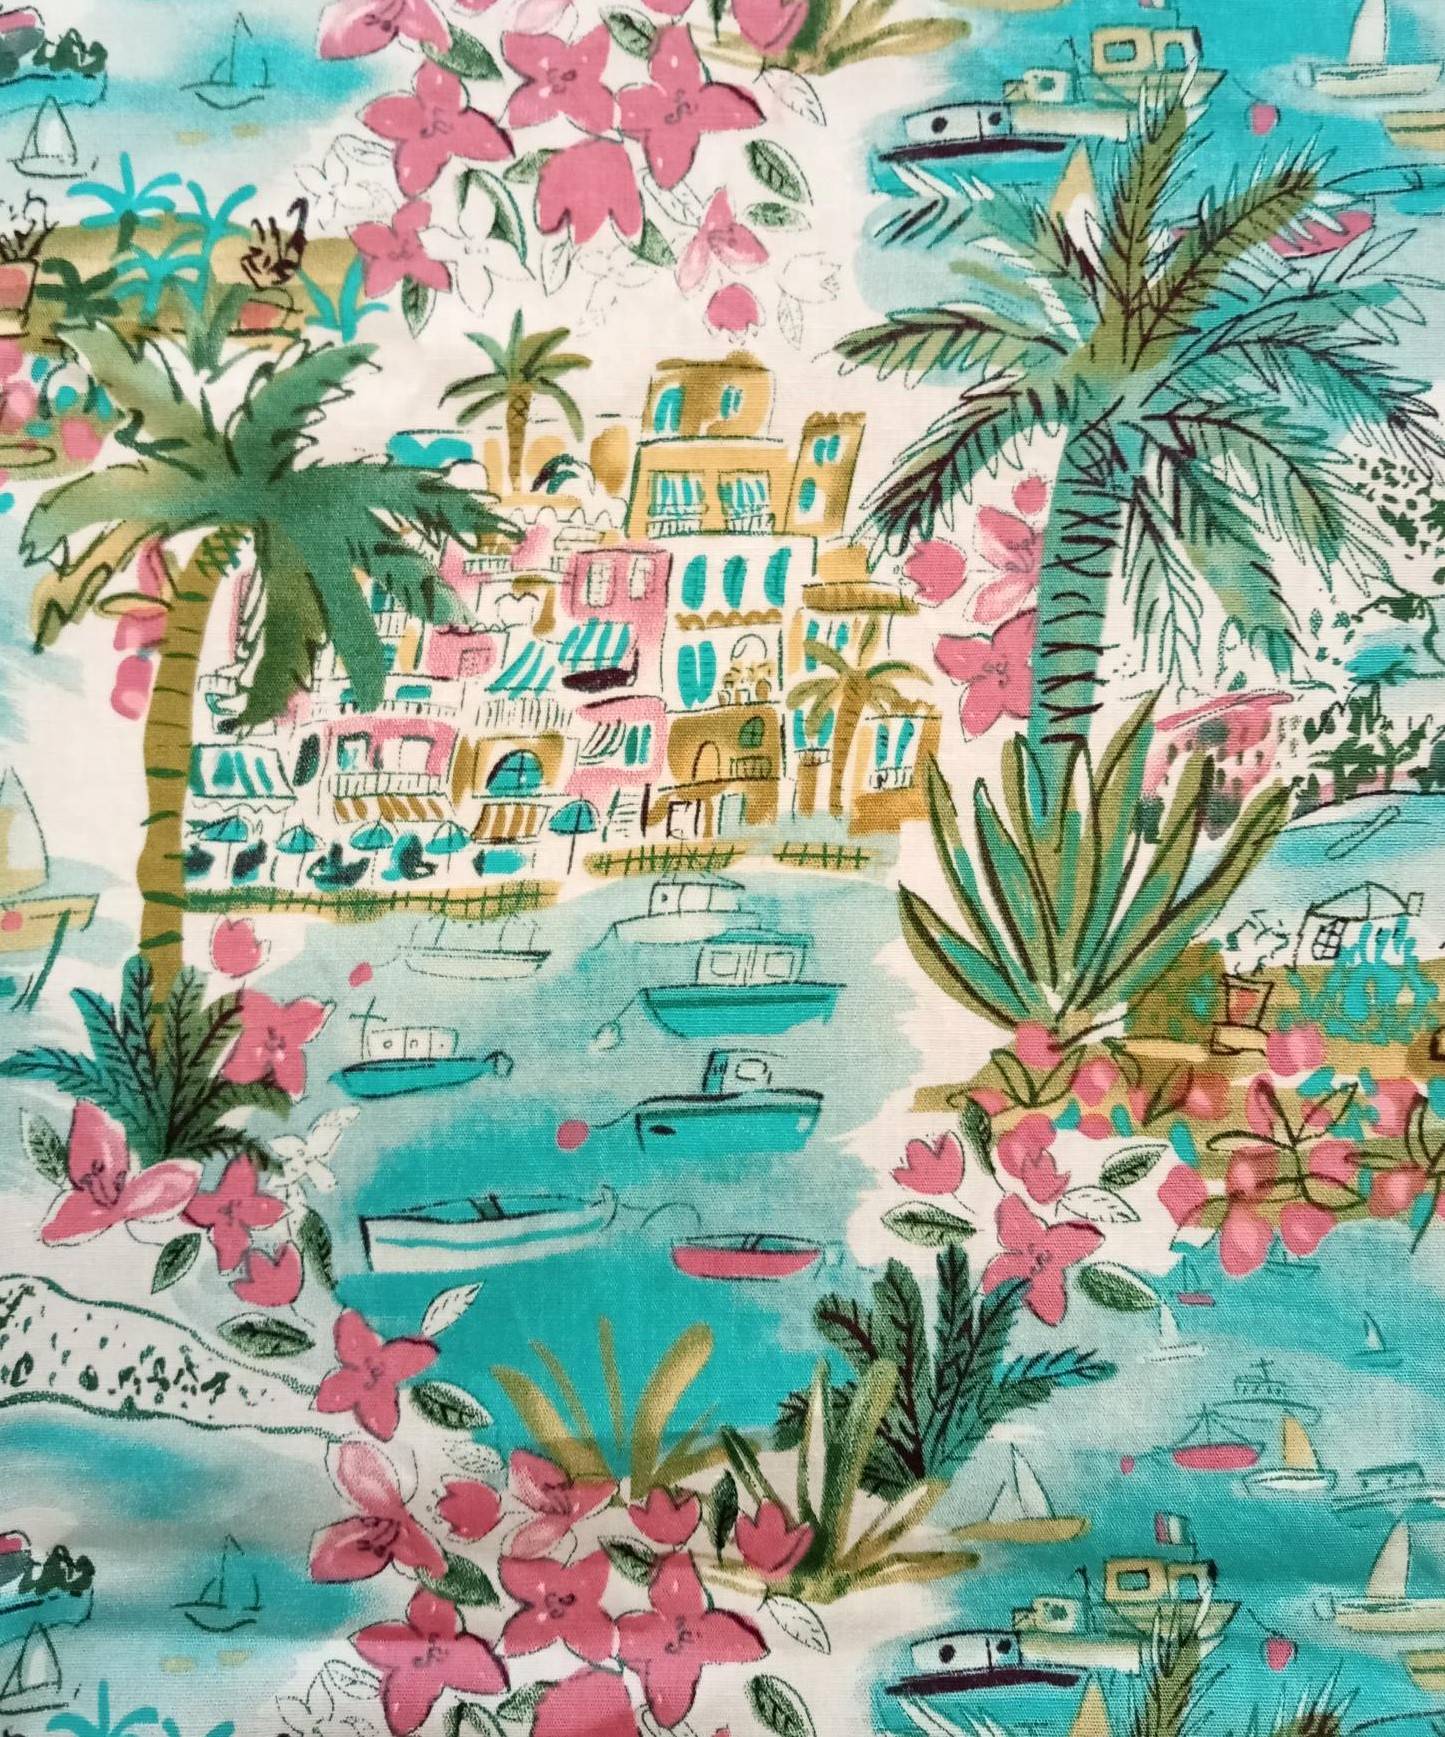
A quick glance at the Vintage and Contemporary gallery pages of this blog will show that I don't shy away from bold prints, but overall this one just feels too busy. Possibly it's the lack of a belt - there's no plain contrast area to give the eye a moment to rest. Then I remembered this pattern in my collection, from three years earlier.

Butterick 8131, 1957

It has a similar bodice with grown-on sleeves, and I really like the neckline treatments of views B and C. Time to experiment with something similar.

Sunday, 10 September 2023

The right tool for the job

I have picked up my long-neglected Riviera dress again. Even with a very unseasonal September heatwave, it isn't going to get any wear this summer, but I do want to finish it rather than leave it languishing as a UFO over the winter.

Not really a mid-September dress

Having completed the bodice, the next stage was another new technique, the corded piping detail at the waist seam. The pattern calls for ⅛" wide cording, but none of the piping cords in my local fabric shop were anywhere close to that thick. Instead I got some soft white cotton cord - and gave it a good soak in boiling water to pre-shrink it.

⅛" is surprisingly chunky

I don't think that I've ever put piping on a garment before. The closest was the blind piping, i.e. without cord, on my 1930s wrapover pinny (which, incidentally, has proved to be a very useful garment and gets a lot of wear), which I made and applied with guesswork.

The instructions are to wrap the cord in a bias strip of fabric, sew this down with a cording foot, then baste the cord to the bodice and finally sew bodice and skirt together.

It looks so simple!

I didn't have a cording foot, so I used a narrow, hinged, adjustable zipper/cording foot, which seemed like a good substitute.

First attempt

Reader, it did not go well. Despite my careful adjusting of the foot position, the stitches came out some distance from the cord. When I tried pushing the whole thing closer to the needle, I frequently sewed through the cord itself.

Happily for me, I then found an actual cording foot on ebay. Singer clearly made cording feet to go to the left of the right of the cord, and this was a left toe model.

Second attempt

I unpicked my mangled stitching, and tried again with my new toy. Perfection! Sadly, I didn't think to take a photograph.

I basted the covered cord onto the bodice, then made up the skirt. I had followed Tasha's excellent pattern-matching tutorial when cutting out the skirt backs, and was really pleased with the end result.

Pattern matched joy!

When it came to sewing the waist seam, I had a problem. Because my cording foot is left-toed, all the fabric has to go to the right of the needle, and with a bodice and a full skirt, that's a lot of material. So I convinced myself that it was either the narrowness or the hinged nature of the zipper foot which had caused the problem, and sewed the seam with a wide, rigid, adjustable zipper/cording foot.

Third attempt

This did not go well, either. Again, the stitching was some way out from the cord, which meant that the stitching which held the fabric round the cord was visible, and the whole thing looked a mess. There was nothing for it but to try again with the cording foot. Fortunately, because I was sewing on Tilda, my 66K treadle, there was ample space for all the fabric.

Sure enough, the cording foot did the job.

Ta-dah!

I think that the secret lies in the shape of the foot. Whereas the adjustable feet have straight edges, this foot curves out towards the notch for the needle, which seems to push the cord closer to the line of sewing.

The right side has a definite curve

When I looked for the Simanco part number, I noticed that the foot was made in the USA. I wonder if they were only made in America?

Part 15429, the 'U' of 'USA' is just visible

Either way, the hunt is now on for a right toe version. This is clearly an extra foot worth having!

Sunday, 6 August 2023

Grown-on sleeves, 1960-style

When I made the bodice for my peppermint batik dress from Simplicity 3662, I used modern techniques. After all, it was such a simple design - just two back pieces and one front - that there was no need to consult the instructions. I did a second row of stitching on the underarm seam curve to reinforce it, and machine hemmed the sleeves.

Easy peasy?

For what I am now calling the 'Riviera' dress, after the print, I actually looked at the instruction sheet - and neither of these techniques appears on it!

Just like our current British summer - not!

The cutting layout for the view includes a note to cut two 'facings'; bias strips 1⅛" wide and as long as the lower edge of the sleeves. Once the darts and shoulder seams have been sewn, the underarms are stay stitched, and then the facings are attached*.

The facing sewn along the sleeve edge

The seam allowances are pressed towards the sleeve, and the side seams are pinned. Then the curve is reinforced with either straight seam binding or a selvedge strip of the fabric. I used a narrow cotton tape, and tacked it on to make sure it was placed correctly.

Tape tacked centrally over the seam position

The side seam is then sewn, including the facing.

The seam runs from the facing edge to the base of the bodice

The underarm curves are snipped, but not the reinforcing tape. Then the facings are pressed back - I did mine with a tiny sliver of the top layer folded over to the inside, as I would do a neck facing.

Making sure the facing is invisible from the right side

Finally, the raw facing edge is turned under, and slip-stitched in place.

The finished sleeve edge

On the dressform

I will be interested to see how this reinforcement technique lasts over time. When I was ironing Vogue 5215 recently, which has a similar grown-on sleeve, I noticed that the seam was starting to tear slightly. It's now on the mending pile to be discretely patched.


* -The instructions actually say to attach the neck facing before the sleeve facings, but I am going to leave this step until I have put the zip in - some modern habits die hard!

Sunday, 30 July 2023

July review

This is going to be a very short post because, as expected, I had very little free time in the month.

I have discovered that one of the joys of knitting is that unlike dressmaking it lends inself to working in short bursts - you can just pick it up and do a sneaky row or two if you have a few spare moments. Thus the body of my new Wondrella cardigan is complete. I decided to do the sleeves next, rather than the collar and bands. However, I picked up the stitches in a bit of a rush, and after I had knitted the first row I realised that I had picked some of them up in the wrong place.

The two stitches to the left of the marker were picked up too far in

There were more iffy stitches than just those two, and because I am that fussy, I decided that I needed to fix them all. However, I didn't want to take the whole thing out and have to space out and pick up 118 stitches again. So I undid the row of knitting, and then tried an experiment.

I transferred all the stitches to the right of the stitch marker, plus the two that were wrong, onto a length of scrap yarn. Then I took the leftmost stitch off the yarn, and pulled out the loop for the stitch, used a crochet hook to pull it back through in the correct place, and placed it back onto the needle. I did the same with the second stitch, and then returned all the other stitches on the holding yarn back onto needle.

All now in the right place

I suspect that this is nothing new to seasoned knitters, but I was very pleased that I had worked this out for myself. I'm used to (mostly) being able to fix sewing hiccups, but knitting is a whole new world. To be honest, it probably took longer to do it this way that if I had just frogged the sleeve and started again, but learning a new skill was far more satisfying.

More new skills await with my dress. I have got as far as sewing bodice darts and shoulder seams, and the next stage is the side seams and sleeves.

Progress so far

I went for the radical approach of actually looking at the instructions, and discovered that they differ slightly from the methods I used for the peppermint batik dress. Hopefully once we are into August I'll find some time to try them out.

Sunday, 9 July 2023

1960 summer dresses

As predicted, I've had very little sewing time this week, I haven't even managed to cut out all of my dress. So, as both the patterns I am using for it date from 1960, I thought that for this post I would take a look at the June/July 1960 issue of Vogue Pattern Book, specifically summer dresses.

The dress on the cover, Vogue 9732, has a fitted bodice, gathered skirt, and a very narrow tie belt.

Holiday clothes feature heavily

Gingham is described inside as "having it good this season". As well as the violet version on the cover, it turns up in yellow for Vogue 9205.

This one has a button front bodice

There's more gingham on the back cover, although it is printed rather than woven and alternates with rows of "turquoise daisies" (?) on this Cepea cotton. The dress, another fitted bodice and gathered skirt, is actually made from a McCalls pattern, 5001.

The style makes good use of the print

There are yet more similar dresses in this feature.

L to R: 9971, 5028, 5013, 9991 and 4104

Vogue 9945 has the pleated skirt of Simplicity 3663 and the scooped neckline of Butterick 5748, but is constructed with a wide midriff band and a separate bodice section with short darts above it.

Vogue 9945 - what's in the basket?

The pattern also includes a matching bolero which is, apparently, "tucked in the basket" in this photo (clearly another of Vogue's 'take it on trust' moments). Very oddly, a tiny line drawing of the back view on page 66 is the only indication of what the bolero might look like. I have included an image from the Vintage Pattern Wiki for the curious.

This is

It's not all full skirts, however. There are some sheath dresses as well.

L to R: 9968, 9998, 9952, 9946 and 211

With regards to the fabrics featured in the issue, there are no conversational prints, but "bold design and vibrant colour" are Vogue's predictions for the summer.

Florals and geometrics

More florals

What really caught my eye in the second spread however was the black and white photo.

Can you tell why?

And lo and behold, there's another one.

Clue - it's the image on the right

Corded bias waistbands. You don't see any for ages (possibly ever), and then three come along at once! Clearly it was a 'thing' in 1960. I shall have to try it now.

Sunday, 2 July 2023

An easy (I hope) project

Welcome to the first in a series of short blog posts. July is going to be a very busy month for me - but sadly not with fun stuff like holidays. In fact, the majority of it is going to be pretty stressful. This last week has been busy, too, as I've tried to pre-empt issues which might come up in the next few weeks.

Amid all this chaos I want a nice, non-taxing, project which I can pick up easily when I do have some free time. So, not my pineapple dress. Instead, following on from the success of my peppermint batik dress, I’ve decided to pursue my plan to re-use the bodice pattern and make up Simplicity 3662.

It's more of this!

I'm going to use this cotton poplin, which has been in my stash for a couple of years.

The colours are far brighter, but my camera refuses to capture them properly

Because it is such an obviously directional print, it wouldn't work with a circle skirt. Instead it needs a skirt which is either in panels or a tube. Panels would take a certain amount of work, because while I couldn't pattern-match the motifs I would want to at least align them. And I just don't like gathered skirts, on me at least. This design however, with its deep pleats (similar to the peppermint batik dress), seems like it would work. I am not going for the closed pleat at the bottom, though - for someone who takes quite long strides that looks like a recipe for disaster!

I will make the skirt on the right

View 1, in black, has a tie belt, but view 2 is described as having "corded piping in the waistline seam". This is a technique which I've never used before, so I'm tempted to have a go.

Interesting waist treatment

So far, I have resized the skirt pieces, and tweaked both them and my hybrid Simplicity 3662/Butterick 5748 bodice pieces to make sure that the darts match up with the pleats. So now I'm ready to start cutting out.