Sunday 29 May 2022

Fixing an 'almost' dress

Last September I tried an experiment. I made up an altered version of Vintage Vogue pattern 2787, using two fabrics and carrying the contrast section on to the back. I wrote at the time that I didn't feel it was a success. The blue was too much of a contrast, not helped by the fact that it was a poor match for the (small amount of) blue in the print.

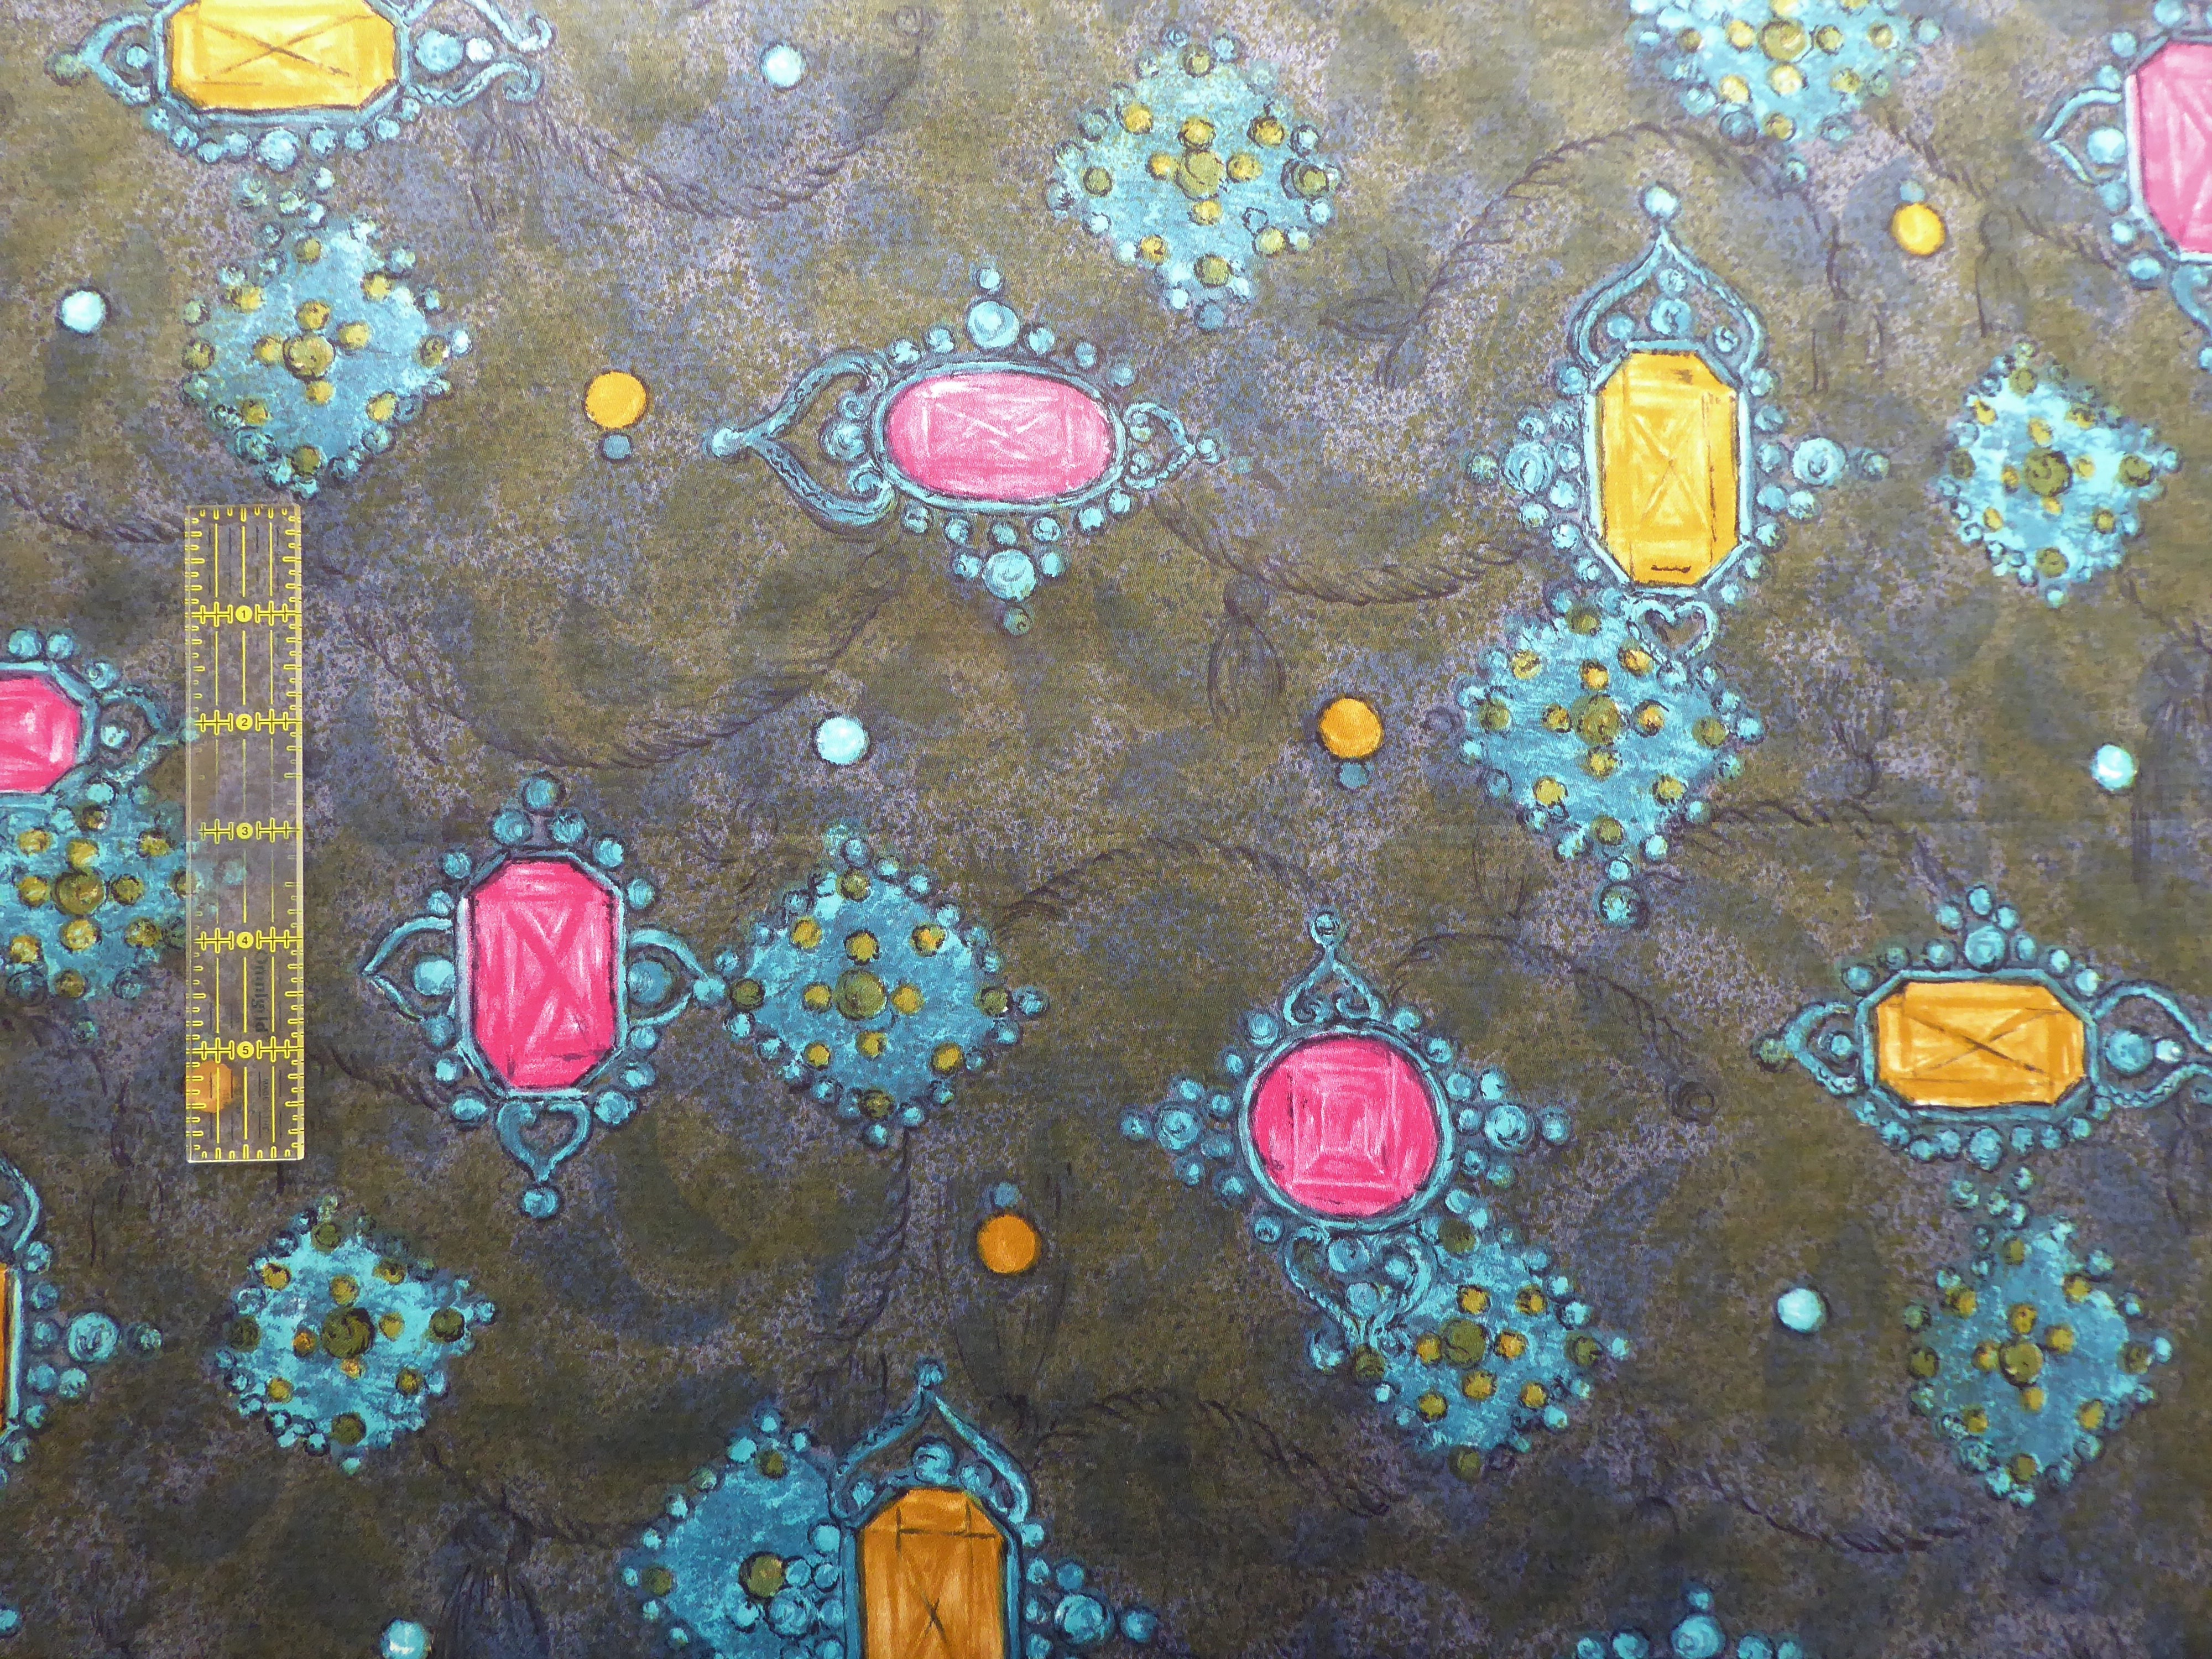
The idea, and the reality

But, I didn't feel that it was a failure, either. Two-tone dresses were a very 1940s 'thing', and I still liked the basic principle, just not this version. A definite failure would have been easier in a way - I could have got rid of it, and moved on. But instead it lurked in the wardrobe, reminding me that it was 'almost' what I wanted, just not quite.

Eventually, I decided that enough was enough. Despite not being short of other things to do, I would try to fix the dress by 'lifting out' the blue section and replacing it with something more suitable. My logic was that I would never wear the dress in its original version, so if I accidentally destroyed it in the process, then it wasn't a loss. And if it worked - bonus.

I settled on a dark red crepe for the new section. It's a slightly warmer colour than the maroon in the print, but a better match to the overall tone of the brown fabric. When I made the dress, I had made up the front and the back in the two fabrics, and then joined them together. This time I made up the red section, stay-stitching all the curves and completing the sleeve.

Making the new section

Then, I turned under the edge that would lie over the print part of the dress, and basted it down.

Ready to insert

It was crucial that none of the long curved edges stretched during the (re)construction, so I basted a stay tape (in reality, the saved selvedge of a lightweight but firm fabric) round the edge of the print part of the dress.

Stabilising the dress edge

Then, it was time for dress surgery! I decided to start at the side seam, which had to be unpicked along a short section.

Scalpel! Well, seam ripper

Next, I started to unpick the lapped seams which hold the two parts together. Not only was this a double row of stitching, but I also discovered that I'd used a very short stitch length! As I couldn't risk pulling anything out of shape or excess fraying, I had to unpick this stitch by stitch.

The start of a lot of unpicking

I decided to hone my technique, such as it was, on the back. I had already marked various match points, such as the darts and the centre back seam. My method was to unpick a short section, slide out the blue part, pin in the red part, and then baste it in place. I used a different colour of thread so that I could easily tell which basting was which if I needed to remove any.

My replacement method

Once I got almost to the neck, I repeated the process on the front. This included gathering up some of the red fabric to lap under the print.

By the time I got to the neckline itself, I was so absorbed in what I was doing that I forgot to take any progress pictures. Not for the first time, Current Black Tulip was very grateful that Past Black Tulip had not cut the seam allowances down to a sliver! Even so, replacing the blue section of the facing seemed like a step too far. Rather than try to sew dress and facing together in the normal way, I decided that it was far easier to turn under the dress seam allowance, and oversew the facing in place. This also meant I could include a generous 'turn of cloth' allowance to hide the blue!

Facings attached

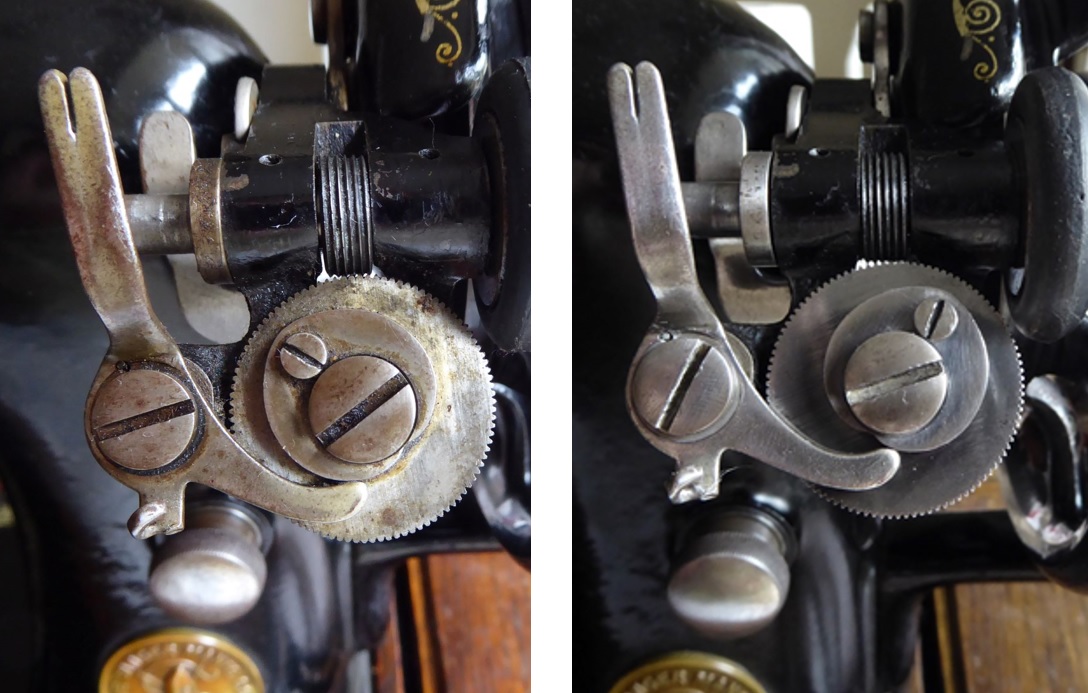
Then it was time to sew the plain and print sections together. I did this on the treadle, as the flat surface and the extra harp space were really useful for moving the dress around. Most of the sewing was done by turning the balance wheel by hand, however. Then I had to take out all the basting threads and stay stitching, which took a while. I actually had some brown buttons of the right colour, size, and quantity in my button box (it's a miracle!) so I attached these, and the shoulder pad, and it was done. Even better, the rain stopped for long enough for me to nip outdoors and take some photos.

'New' dress

I am so much happier with this version. Using a darker colour has moved the emphasis to the print section. Even the horizontal line at the hip doesn't look so pronounced.

Showing more of the side

And here are the two versions side by side for comparison.

Such a difference

Did all this take an absurd amount of time? Yes, it did. It was pretty much the opposite of a Sewing Bee transformation challenge - spend about 15 hours making something barely different. Would it have been quicker to just ditch the original and start again? Almost certainly. Am I glad I did it? Heck yes. I have a stubborn streak, and the knowledge that this dress could be so much better was an itch which needed to be scratched. I know that this version will get a lot of wear, and as I try to consciously move my dressmaking practice to something slower and more detailed, this represents another piece in the jigsaw.

One metre in, one metre out, nothing to see here

Sunday 22 May 2022

Stash update (it’s not good news!)

It's been a very tedious couple of weeks, but I'm finally on the mend. I've even managed a tiny bit of sewing. Just as well, really as fabric is coming in to the stash faster than it's leaving!

Although my trip to York the other week was mainly to attend the Festival of Vintage, I also squeezed in a few other things, including a trip to Gillies Fabrics. Bricks-and-mortar fabric shops are such rarities these days, that I always visit if I find one. No harm in looking, after all. Except, of course, it's never just looking - and this one was a treasure trove!

First purchase was this jaunty floral print viscose, with a short length of matching plain navy. I did have a pattern in mind for this, but when the yardage was measured out, it just left a short piece on the roll. Very little arm-twisting was needed to persuade me to take the full length, so I now need to find a pattern to use it all. It's very fine, so will need lining.

Pink!? Who even am I?

I also found this pretty cotton lawn in a tiny floral print which would make a perfect 1940s dress. And at the Festival of Vintage, I found a suitable pattern from 1946. I'm planning to make view 1, but with shorter sleeves. It's a half-size pattern, so I’ll be interested to see how this affects the fitting alterations I need to make.

Back to normal choices - phew!

Also at the Festival of Vintage, I found my last fabric purchase - this length of cotton with a 'jewel' print. It’s three yards long, but in keeping with the time, it's only 36"/90cm wide. That should be plenty for a late 50s/early 60s sheath dress, however.

It's a bit wild, but I love it

I've converted it to its 112cm wide equivalent on the Stashometer, as I do with everything on there, for consistency. Otherwise, the temptation would be to make up all the narrow fabrics (because, narrow fabric = longer yardages) first, and ignore the wider ones!

I couldn't believe that it's almost halfway through the year, and there was only one row in the 'completed' column. But then I remembered that there's a part-made coat hanging in my wardrobe, and I have made some non-clothing items. So in the interests of completeness/desperation, I have included the latter on the Stashometer, small though they are. Every little helps!

That's a long way in the red!

Sunday 15 May 2022

Stocking case prototype

It's entirely a matter of personal preference of course, and I know that a lot of people find them a complete faff, but I do like to finish off a vintage outfit with a pair of seamed stockings. For me, they serve a practical purpose as well - my legs resolutely refuse to tan these days, so some sort of hosiery is necessary to avoid blinding passers-by with the glare of my blueish-white limbs, and stockings look more like a deliberate choice than do tights.

Stockings co-ordinated to outfits

Naturally, when I was thinking about outfits for the Festival of Vintage, co-ordinated stockings were a must. I get mine from What Katie Did (this isn't an affiliated post, just my own observations), and usually keep them in their original packaging to avoid damage. But the prospect of actually 'going away' for the first time in over two years prompted me to finally get round to making a stocking case for travelling. Ultimately, I want to make a much larger case for storing all my pairs at home, so this was also a useful trial run.

Stocking cases or pouches, lined in silk or satin to avoid snagging the contents, used to be common items. Usually they consisted of just one or two compartments. But because I am storing stockings with different coloured seams, I decided that I wanted each pair to have a separate pocket, sufficiently see-through for me to identify the colour (WKD stockings have coloured welts as well as seams, so there's quite a lot of colour to see.)

I started by making a test pocket, based on the dimensions of a folded pair of stockings. It was made from organza, pleated at the corners to add depth to the pocket, and sewn onto a cotton base. The hem at the top is folded to the outside, to leave the inside of the pocket smooth.

Pocket mock-up, with stockings inside

Once I was happy with the dimensions, I drew the basic design of two-by-two pockets with a centre gap for the fold onto a piece of cotton with a Frixion pen.

The basic layout

I basted on the satin backing for the top two pockets, and redrew on the seam lines onto the satin. Then I pinned on the pockets along the bottom seam, with the pleats in place, and stitched along the drawn line.

Bottom seam ready to sew

Then I pinned the side seams and pleats, and sewed each one in turn. What Katie Did lingerie comes beautifully packaged in parcels tied with WKD ribbon, so I recycled the ribbon I've collected over the years to enclose the raw edge at the top of the pockets.

Side seams pinned

The process was repeated with the lower pockets, then the side satin panels were attached, and finally the centre panel.

Attaching the side panels

I wanted to use an open-ended zip so that the completed case would lie flat when opened, but this limited my choice of zips in terms of length and bulkiness - it's definitely something which needs more thought. The zip was attached round the edges, and the excess cotton fabric cut away. The backing fabric was attached, right sides together and with enough excess in the backing so that it would cover the seam allowance when turned right side out. Once the case was bagged out and the opening sewn up, I top-stitched all round the base of the zip.

Close-up of the zip and edging

All of this was sewn on Tilda, as the treadle gave me more control over speed and stopping than I felt I would get from my electric machine, while leaving me with both hands free.

And here is the end result. There are things I will definitely change next time, but for a first attempt I'm pretty pleased with it. It does the job, the zip is well away from all that delicate 15 dernier, and it's easy to tell which colour stockings are in each pocket. And apart from the zip, it was an entirely stash make as well - result!

Outside - open

Outside - closed

Inside - containing neutral, claret and green stockings

Sunday 8 May 2022

McCall Style News, 1939

A picture-heavy and text-light post this week, as I've been unwell and have spent a fair chunk of the last four days in bed.

Last weekend I went to the Festival of Vintage in York. I had a great time, finally met a few online friends in person, and of course bought a few goodies - including this sales booklet from McCall (as it was then) Patterns.

As ever, a stylish image achieved with just one colour

It is similar to the 1940 Vogue leaflet which I blogged about last year, but much larger. This is 24 pages (including covers), whereas the Vogue version was only four. I can't tell if this was normal for Vogue, or due to wartime limits on paper. As an aside, I was amused by the "Insist on a McCall pattern" strapline - in over 40 years of dressmaking, I cannot recall a single occasion where I have had to stand my ground while a shop assistant tried to fob me off with a different make of pattern!

The booklet was printed in America, so has prices in both U.S dollars and U.K. sterling. There is space on both the front and back covers for the shop to add its own details.

The back cover is a full page advertisement for the store

On the subject of prices, I had always assumed that Vogue patterns were the most expensive brand. However, whereas the patterns in the Vogue leaflet ranged from 1s 6d to 2s 6d (18 old pence to 30 old pence), the majority of the McCall patterns from a year earlier were 2s 1d (25 old pence), and a few were 3s 1½d (37½ old pence). Clearly you paid a premium for printed patterns.

So without any more ado, here is the leaflet. Click on any image to enlarge.

Page 2

Page 3

Page 4

Page 5

Page 6

Page 7

Page 8

Page 9

Page 10

Page 11

Page 12

Page 13

Page 14

Page 15

Page 16

Page 17

Pages 16 and 17 are a double-page spread. I like the way that the horizon continues acres both images, even though they are drawn in different colours.

Page 18

Page 19

Pages 20 and 21

Page 22

Page 23, McCall craft patterns

Sunday 1 May 2022

Maud restored

I've not had a lot of time for sewing this week, but I am very pleased and proud to have completed the work on my 1917 hand crank machine, so brace yourself for more restoration spam!

I can claim no credit for fixing the tension. Helen Howes provided me with a complete, new-to-me tension unit (the original was even more broken than I'd realised), and all I had to do was swap them over.

The bobbin winder was another matter, though. It worked but, oh my, it was grubby. I followed this video for taking it apart for cleaning. From my experience the crucial things are: 1) you cannot take too many 'before' photos to work from when reassembling it; 2) take it very slowly and carefully, so no pieces which are held in tension spring out and get lost; 3) label everything. I can't stress this last one enough.

The bobbin winder's 18 separate parts

To my great joy and relief, when I came to put it all together again there were no missing pieces and no pieces left over. Along the way I learned about all sorts of new things such as worm wheels and eccentric screws.

Eccentric screw - the thread is offset from the centre

Before and after cleaning

Next. Remember the stopper on the hand crank mechanism?

This one

The one which I thought was made entirely out of very old sticky tape?

I was wrong. It was worse than that.

It was actually made of old sticky tape and old sticking plaster. Such old sticking plaster that it disintegrated as soon as I touched it. Urgh. It has now been replaced with a leather version, following Helen's instructions.

The new, and definitely improved, version

Finally, I made a new spool felt. Modern sheet felt is far thinner than the Singer version, but fortunately I've kept all my hatmaking hood offcuts, and the leftovers from my lampshade hat were the perfect red.

So here is the end result. I have seen far more ambitious and compete restoration projects than this, but I'm very happy with mine. Maud will never look as though she has just rolled off the production line at Kilbowie (and sometime I will write a full post about Singer's Scottish factory), but I wouldn't want her to. She’s a 105-year-old working machine, and I prefer her appearance to reflect that.

All done

I've learned so much from this project, and gained a lot of confidence about what new things I can actually do if I try. And most importantly, Maud now sews like a dream. Here’s to another 105 years!