Showing posts with label blue Wondrella. Show all posts

Sunday, 30 April 2023

Wondrella completed!

I am now the super-proud owner of a cardigan which fits. Even better, a cardigan which fits and which I made myself. Anyone lucky enough to be the same size and shape as ready-to-wear clothing will be mystified by my level of excitement but, believe me, it's real. My 2"/5cm reduction of the length was spot-on.

Happiness is a cardigan which is the right length!

When I last posted about this, I had knitted the fronts and nearly completed the back. Once the back was done, the next stage was to knit up the shoulder seams. Knitting off two needles onto one and casting off at the same time was an entirely new idea for me, but produces a very neat join. Next came the button and buttonhole bands. Tasha provides various options for the neck band/collar, but I decided to keep it simple for this version and just do the basic neck band. The neck ties are knitted as i-cords - two stitches knitted in the round. Something else new, and great fun to do.

Then it was on to the sleeves. Tasha's method of working involves knitting everything as part of the garment, not as separate pieces. This means that the sleeves are knitted top down from the armhole. That was a lot of stitches (118 for my size) to space out evenly, so I followed the tip provided and split it up into smaller sections.

The armhole divided into sections

Even these seemed a bit tricky, so I ended up marking the approximate pick-up point for each stitch within a section with pins.

Even more detail

The sleeve decreases by two stitches on every third row, and eventually got too small for the circular needle I was using. I changed onto double-pointed needles, as that was all which my local shop had. Unfortunately I didn't think to check my progress for a while and when I did, I discovered that despite my best efforts to pull the stitches tight, there was very obvious laddering at the joins.

Sigh

Luckily, an online search for a solution alerted me to the fact that smaller circular needles exist! I ordered some online, and patiently unpicked 18 rows of sleeve while I waited for them to arrive (sad trombone).

After that, it was plain sailing. I really like the fact that this method of construction means that there's no sewing together of various pieces to do at the end. The only sewing was adding petersham ribbon to the button bands to strengthen them, and overcasting the buttonholes in the ribbon. I spent an absurd amount of time trying to decide if the buttonholes in the ribbon should be horizontal or vertical before thinking to read Tasha's excellent, comprehensive, instructions, which confirmed that they should be vertical.

Buttonholes

When I planned this project, I was so doubtful about my ability to complete it that I didn't want to spend a lot of money on expensive yarn. So it is made from an acrylic and as a result, I'm not sure how effective blocking it actually was, but I did it anyway.

Blocked, and showing the very short body length

Finally, I added buttons from my stash.

Auditioning buttons - I went with the middle ones

The end result can be worn over a dress, extending the wearing season of sleeveless dresses such as Butterick 6582, while the batwing sleeves will also make it easy to wear over styles with grown-on sleeves, such as Vogue 5215.

Worn over Butterick 6582

Alternatively, Wondrella works well with a skirt - although I am glad that I shortened the keyhole neckline opening a little!

Worn with my back-to-black skirt

Either way, I can see this cardigan getting a lot of wear, and I really can't recommend the pattern enough (the link to Tasha's website is here, if you want to have a go yourself). I'm not a knitter - the only other garment I've ever knitted was a jumper in the early 1980s with minimal shaping in a very fuzzy yarn which hid multiple crimes against tension and sewing up - but even with just knowing the knitting basics I was able to make something which I was proud to wear out to the Festival of Vintage today. I suspect another version will be on my needles soon.

Sunday, 12 March 2023

Wondrella progress report

Writing an update post about a knitting project feels very different from writing about sewing, but here goes. These are very much the thoughts of a knitting newbie, so this may be a rather basic post for experienced knitters.

In a week, I've gone from this . . .

. . . to this (admittedly, I've not done much else)

The first thing to say is that for a newbie, especially one who is used to sewing patterns, a knitting pattern looks terrifying. All those letters and numbers! No diagrams! With sewing patterns I like to read through the whole thing before I even cut out, so I know what I'm doing. However no amount of reading this pattern though was going to make it any clearer; if anything, it was more likely to put me off even starting. So instead I decided that as I know how to cast on and do ribbing, I would do those, work until I got stuck, then learn the next technique I needed, and carry on. And I've continued in that vein ever since. I did follow Tasha’s advice of highlighting the relevant number for the size I'm knitting, which seemed vital for avoiding mistakes.

After the ribbing came the row increases to shape the body of the cardigan. The first thing I needed to do was consider by how much to shorten the lower body. Using the pattern schematic, Tasha's helpful YouTube video, and a shop-bought cardigan which is a similar shape, I calculated that my standard 2"/5cm reduction would do the trick. Then I worked out how to remove 14 rows (approx. 2" of knitting) from the pattern while still ending up with the same number of stitches at the end, and wrote my own, very detailed, chart.

Possibly information overkill - part of my chart

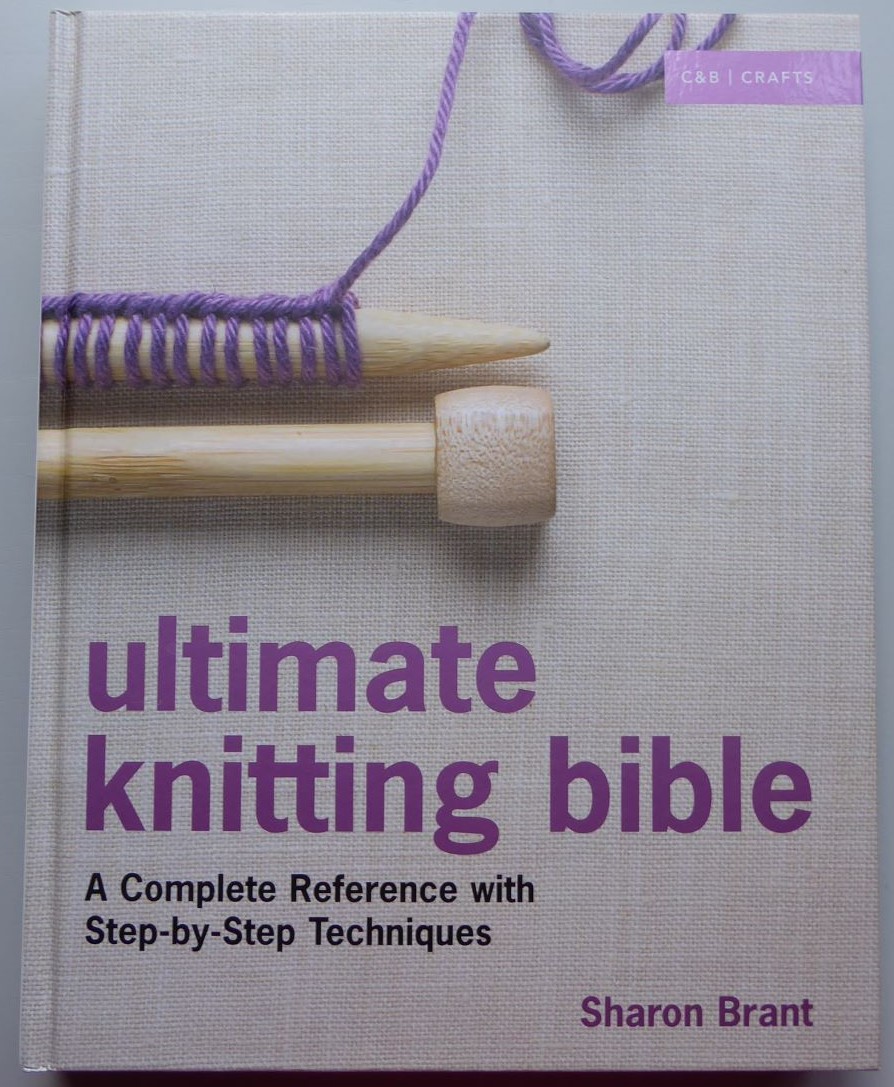
Actually for me, this was one of the easiest bits (what can I say, I'm a maths nerd!). Then I had to learn how to do left and right stitch increases. For that, I turned to this book.

I've found this so helpful

I’ve got a couple of 'how to knit' books but for me, this is the best one. I find the instructions, and especially the illustrations, easy to follow. And I like that there's also a clear photo of actual knitting.

Different methods of decreasing

Close-up of a diagram and photograph

The instructions on joining a new ball of yarn recommend keeping any leftovers handy in case they are needed for mending - which is a touch that I appreciated. There is also a page on how to do this.

How to keep your knitwear in use

Because I was doing the stitch increase over relatively few rows, the effect is quite marked.

The increases laid flat

How the cardigan will look

Initially I miscalculated and did the bind offs for the underarms in wrong places - which gave me more unpicking practice! The back and front right sections were then put onto holding pins while I worked the left front.

The fronts were quite easy and relatively quick to do. The rows were reasonably short, and there were various changes to keep it interesting - reducing stitches for the armhole, a narrow ribbed edge for the neckline opening (which, remembering the Butterick 5997 episode, I made slightly shallower), and shaping the neckline.

Part of the right front

The back, however, I have found very boring to do (So. Much. Stocking stitch). Fortunately, it's nearly done, and then come all sorts of interesing new things; knitting the shoulder seams, adding button and neck bands, knitting the narrow neck ties, and finally the sleeves.

Not much more to go - thank goodness

I must admit that I'm finding it very odd not having anything to try on as I go along, unlike sewing. Even when I've completed the shoulder seams, the high degree of curl in the fronts will make it hard to really tell what the completed cardigan will look like. Currently it looks alarmingly small, but I have checked the gauge and it is all fine, so I am relying on blocking to make it the right size and shape. The crucial thing is that I'm still enjoying doing something entirely new.

Sunday, 19 February 2023

Knitting again

It's only taken five years, but I'm back knitting again. I have actually done a few bits in the meantime, but nothing worth blogging about.

Knitwear, especially in vintage styles, is a perennial problem for me. I have a short torso (I have to take around 5cm/2" length out of bodices), so any shaped knitted garments tend to gather in unsightly folds around my waist. Very occasionally I have found shorter pieces and snapped them up, but my main sources were British Home Stores and Debenhams, now both sadly defunct.

From time to time I've been tempted by knitting patterns which I've seen online, but as I know almost nothing about knitting, and don't have any friends locally who knit, this seemed over-ambitious. Then Tasha, of Tasha Could Make That, announced a knit-along for her latest knitting pattern, and the prospect of some advice and hand-holding finally persuaded me to have a go.

I've followed Tasha online for ages, and been in awe of her knitting and dressmaking skills - especially her awesome plaid-matching abilities! She describes her latest pattern, the Wondrella cardigan as "Suitable for an adventurous beginner", and a brief online chat convinced me that this should be within my capabilities.

The pattern, and progress so far

Wondrella is designed to be knitted with two yarns together, but I decided against that on the basis that handling one yarn is quite enough for me at present. (On the evidence so far, this was the right decision!) Tasha had added that the pattern can be knitted in DK instead, so that's what I went for. I must admit that I chose a cheapish acrylic for my first attempt, as I'm not sure how it will turn out. The cardigan is a design I'd be happy to have in more than one colour, and it comes with several collar variations, so if it works I'll probably knit it again in proper wool. Here I must stress that my concern is based entirely on my abilities, not on Tasha's instructions, which are very detailed. There are a few bits which are new to me, but I'm reasonably confident that I'll be able to work them out when I get to them. I took the precaution of buying an extra ball of wool so that I can practise techniques as and when needed.

The first thing which threw me slightly was that the pattern is knitted on circular needles. This would be tricky for me as I knit with right needle tucked under my arm. It's how I was taught at school - a very long time ago - and I've never knitted any other way. A plea for advice on Instagram brought the information that a) this method has a name - lever knitting and b) it should be possible to knit the body at least on straight needles. I will have to learn knitting in the round for the sleeves, but I'll tackle that when I get to it. Hopefully by that stage I’ll be a more confident knitter in general.

There are no side seams to the cardigan, the body is knitted all in one. For my size, this is 155 stitches. I got to the end of the first row of ribbing, and discovered that I had made several mistakes both at the start and in the middle of the row. Sigh. After tortuously attempting to unpick a few stitches, I decided that it was easier to just unravel the whole thing and start again. On the plus side, I am now much better at casting on! This time I marked every 30 stitches with a stitch marker, so I stop at the end of each section and check it.

At worst, I only have 30 stitches to undo if I go wrong

A new project requires a new knitting bag, as the one I made previously is full of a part-done project! Some time ago I had acquired a couple of very badly made cushion covers in a mixed auction lot of sewing stuff, and had kept them because I liked the fabric. It is a cotton rep, in a very vintage-looking print, but the typeface of the writing on the selvedge suggests that it's actually modern. Anyway, I unpicked the covers, washed the fabric, and used it to make a new, roomy, bag.

Room for plenty of wool and the pattern folder

It has drawstrings on the inside to close it up, so that things don't fall out.

With the sides closed up

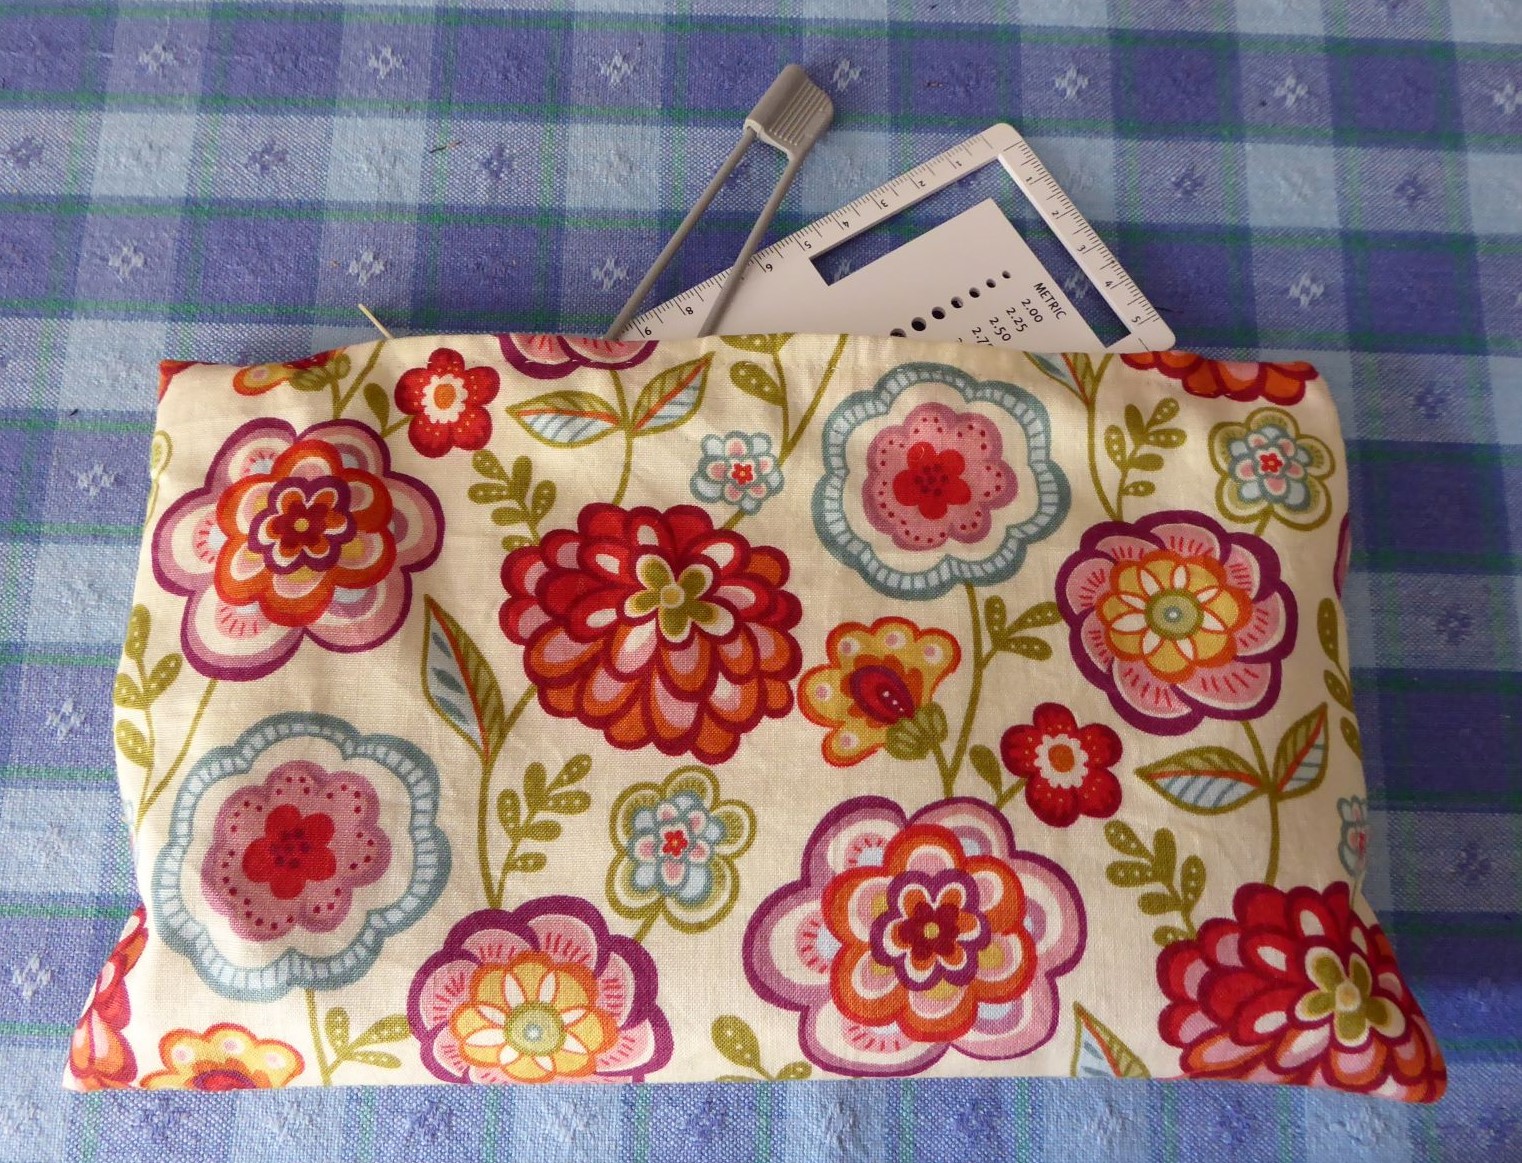
I also made a small zipped pouch bag for accessories such as row counters and stitch markers, as these keep getting lost in the bottom of my knitting needles bag.

A smaller bag for bits and bobs

Both bags are lined and both were 'no-buy' projects as I had everything, including the handles and zip, already.

A little bit more out of the stash

I doubt if I'll finish the cardigan in the knitalong timeframe, as I'm a very slow knitter, but I'm not worried if I don't. It will just be nice to have a vintage cardigan which actually fits.